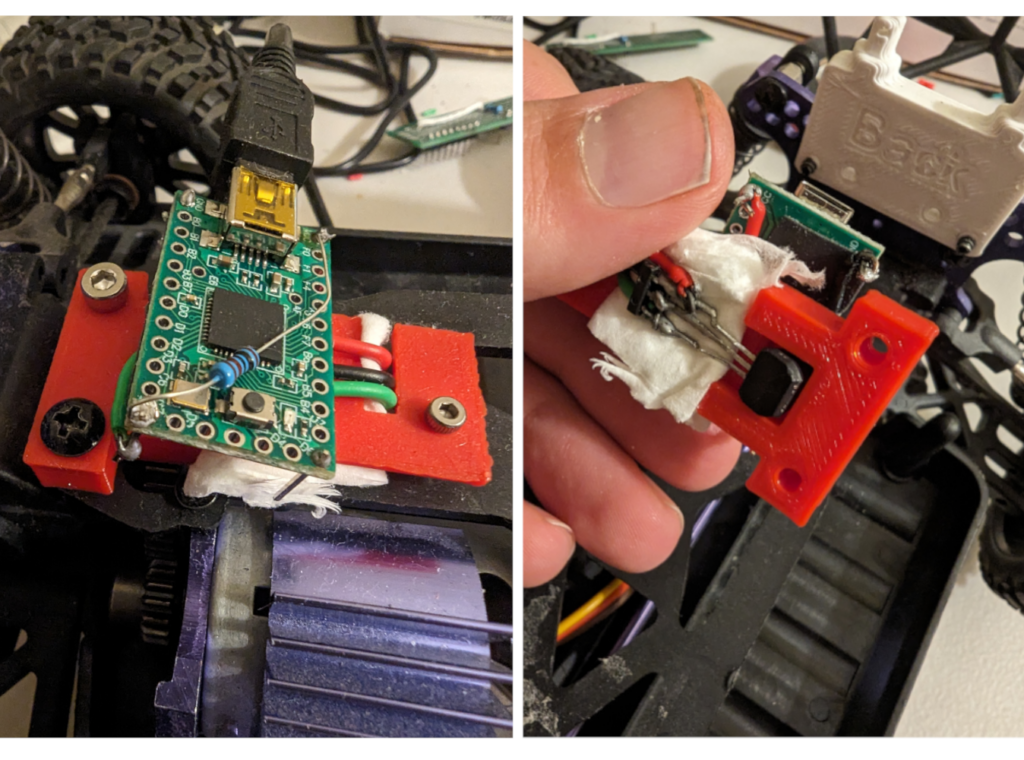
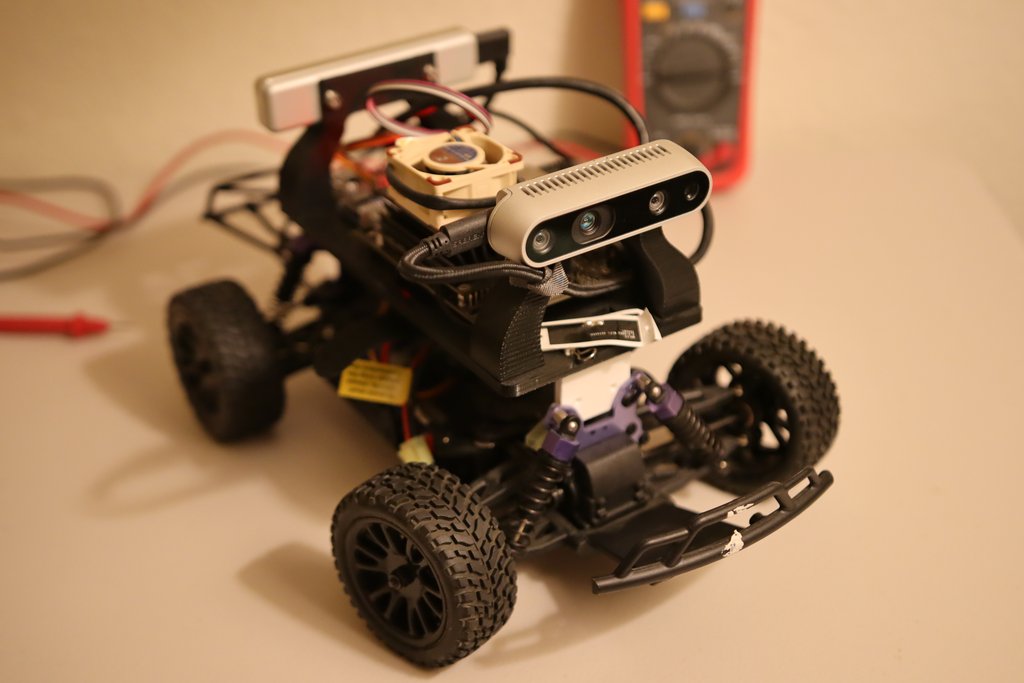
Setup
For this setup, I’m using an NVIDIA Shield Controller as my Bluetooth controller, but any other standard controller should also do the trick. I’ve connected it to my Jetson Nano on the DonkeyJet, and I’m using it in a ROS 2 Docker container we’ve previously created here.
Pairing Bluetooth Controller – Headless
At the moment, my Jetson Nano is located on the DonkeyJet and I haven’t connected a monitor, keyboard, or mouse to it. Before proceeding further, we must pair the Bluetooth device with the Jetson Nano.
bluetoothctl for this purpose.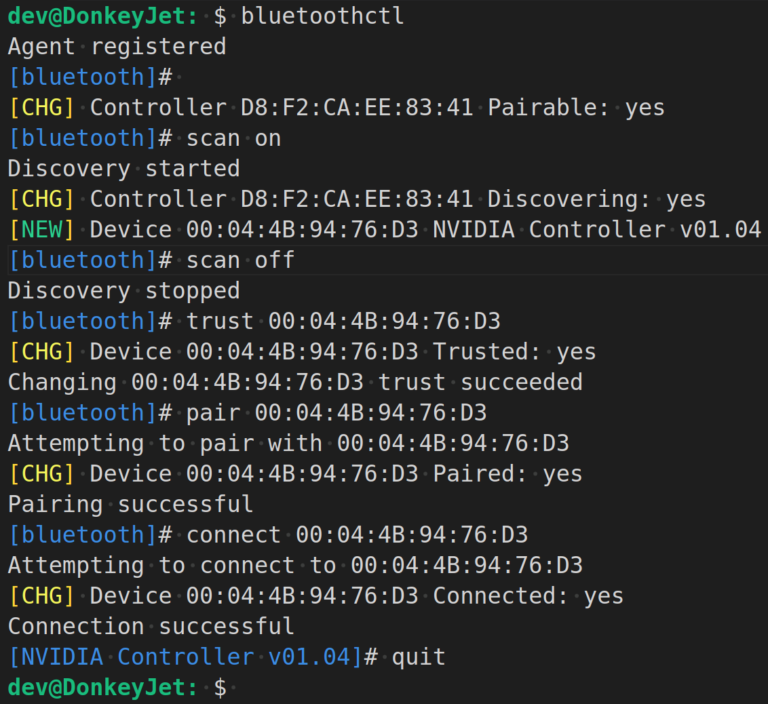
You might notice that there were more devices found during the scan, but I’ve edited the image to remove the extras and make it easier to read. To recap, we started the scan and stopped it as soon as my controller – which is displayed as “NVIDIA Controller” here – appeared. Then, I used the trust command. which make the auto connect possible when controller wakes up from sleep. Then the pair command is used. In some cases, the pair command might also trigger the connect command, so you might not need to run it separately. However, if the connection doesn’t happen automatically, you can execute the connect command separately. It’s important to note that all of these commands are executed with the MAC address of the controller.
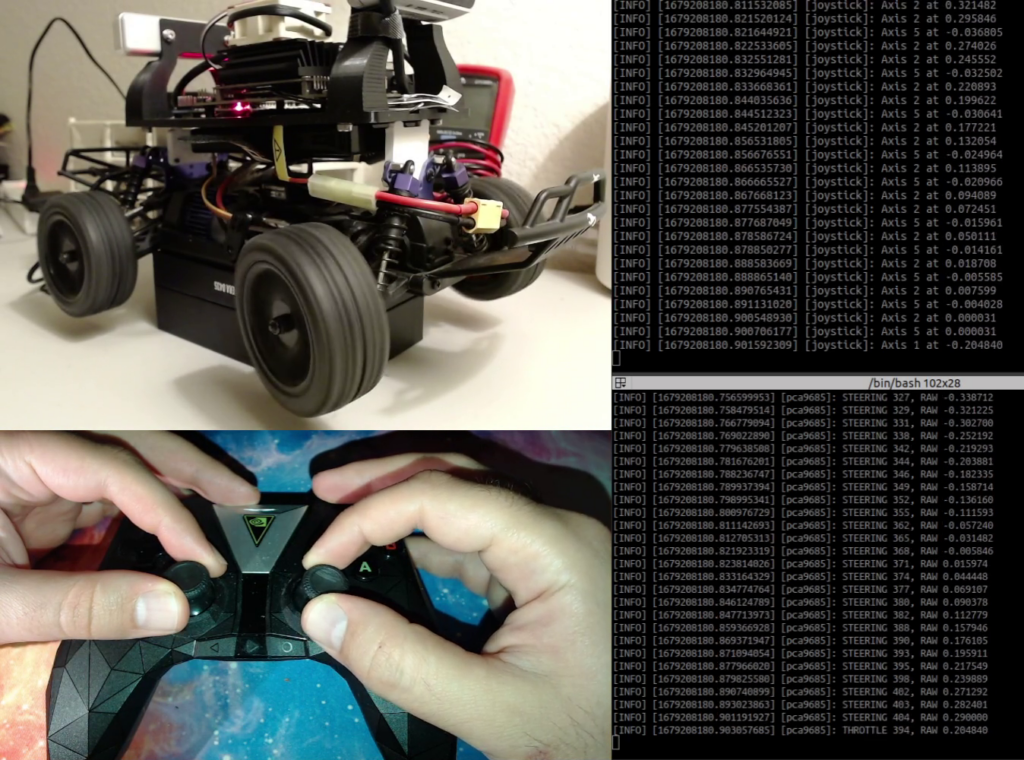
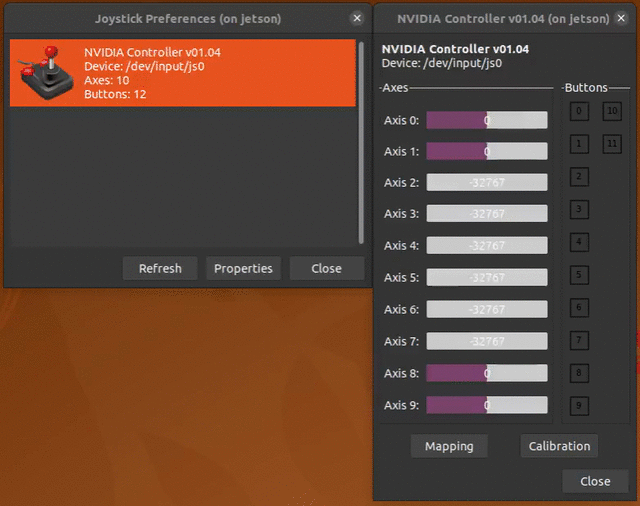
In my situation, the device appeared as /dev/input/js0. Once this file exists, I know for sure that the controller is connected. I can also test it with jstest-gtk which can be installed with sudo apt-get install jstest-gtk. But you need to enable the X forwarding of the SSH. In Ubuntu, you just need to use -X argument with your ssh command. The following shows the jstest-gtk window when I am moving the axes and pushing the buttons.
Reading Controller on Jetson Nano
There’s a ROS package named “Joy” that’s supposed to read joystick inputs, but for some reason, it didn’t work with the controller I have. That’s why I’ve decided to create my own node instead.
Reading Joystick Input in Linux with C++
We’ll be using the header file linux/joystick.h for this task, which has a well-written document here explaining how to use it. The original documentation defining the Joystick API can also be found here.
To simplify our work, we can divide it into two stages – the setup stage and the loop stage. During the setup stage, we’ll initialize everything that’s required, and during the loop stage, we’ll read the input events.
In the setup stage, we’ll open the input file – which in this case is /dev/input/js0 – and perform some ioctl calls to retrieve the name of the device, as well as the number of buttons and axes available on the device. It would look something like this:
std::string device{"/dev/input/js0"};
js_fd_ = open(device.c_str(), O_RDONLY | O_NONBLOCK);
if (js_fd_ < 0)
    perror("Could not open joystick");

__u8 number_of_axes;
ioctl(fd, JSIOCGAXES, &axes);
__u8 number_of_buttons;
ioctl(fd, JSIOCGBUTTONS, &buttons)
printf("joystick with %d axes and %d buttons is opened", number_of_axes, number_of_buttons));
In the loop stage, we are continuously reading the file and in case there are any events, we read the events. Something like this:
int read_event(int fd, struct js_event *event)
{
  ssize_t bytes;
  bytes = read(fd, event, sizeof(*event));
  if (bytes == sizeof(*event))
    return 0;
  return errno;
}

void loop(){
  struct js_event event;
  while (read_event(js_fd_, &event) == 0)
  {
    switch (event.type)
    {
    case JS_EVENT_BUTTON:
      printf("Button %u %s", event.number, event.value ? "pressed" : "released");
      break;
    case JS_EVENT_AXIS:
      printf("Axis %u at %6f", event.number, event.value / 32767.0);
      break;
    default:
      /* Ignore init events. */
      break;
    }
  }
}
Joystick with ROS
The next step is to integrate this logic into a ROS 2 node and publish the inputs into a topic. For that purpose, I defined a new message as follows and called it Joy2 since there is a Joy message in Joy package.
int64 INVALID=-2

std_msgs/Header header
int64 button
int64 button_value
int64 axis
float64 axis_value
This file can be found here in my Github repository. The idea is that we use Joy2::INVALID to indicate a field is not valid. Since in each message exclusively only one button or one axis is updated and the other field is invalid.
The complete ROS 2 looks like the following and it also can be found here in my Github repository.